How to connect your Chromebook to a shared network folder
If you need to access directories shared from other computers on your network from your Chromebook, Jack Wallen is here to show you how it's done.
When Chromebooks were first introduced, they were mocked as nothing more than a laptop with a browser. Since those early days, the devices have become far more versatile than you probably realize.
Take, for instance, the ability to connect to network shares from within ChromeOS. This feature has been built into the OS for some time and makes it easy to not only connect to those shares but easily access them from within the Files application.
I'm going to walk you through the process of connecting to a network share being shared by the Samba server on Pop!_OS Linux. This process can also connect to directories shared from a Windows or macOS machine (and the process is the same, regardless of which operating system is hosting the share).
The only things you'll need to make this work are an updated Chromebook and a share to connect to on your network. Ready to make this happen? Let's do it.
1. Open the Settings App
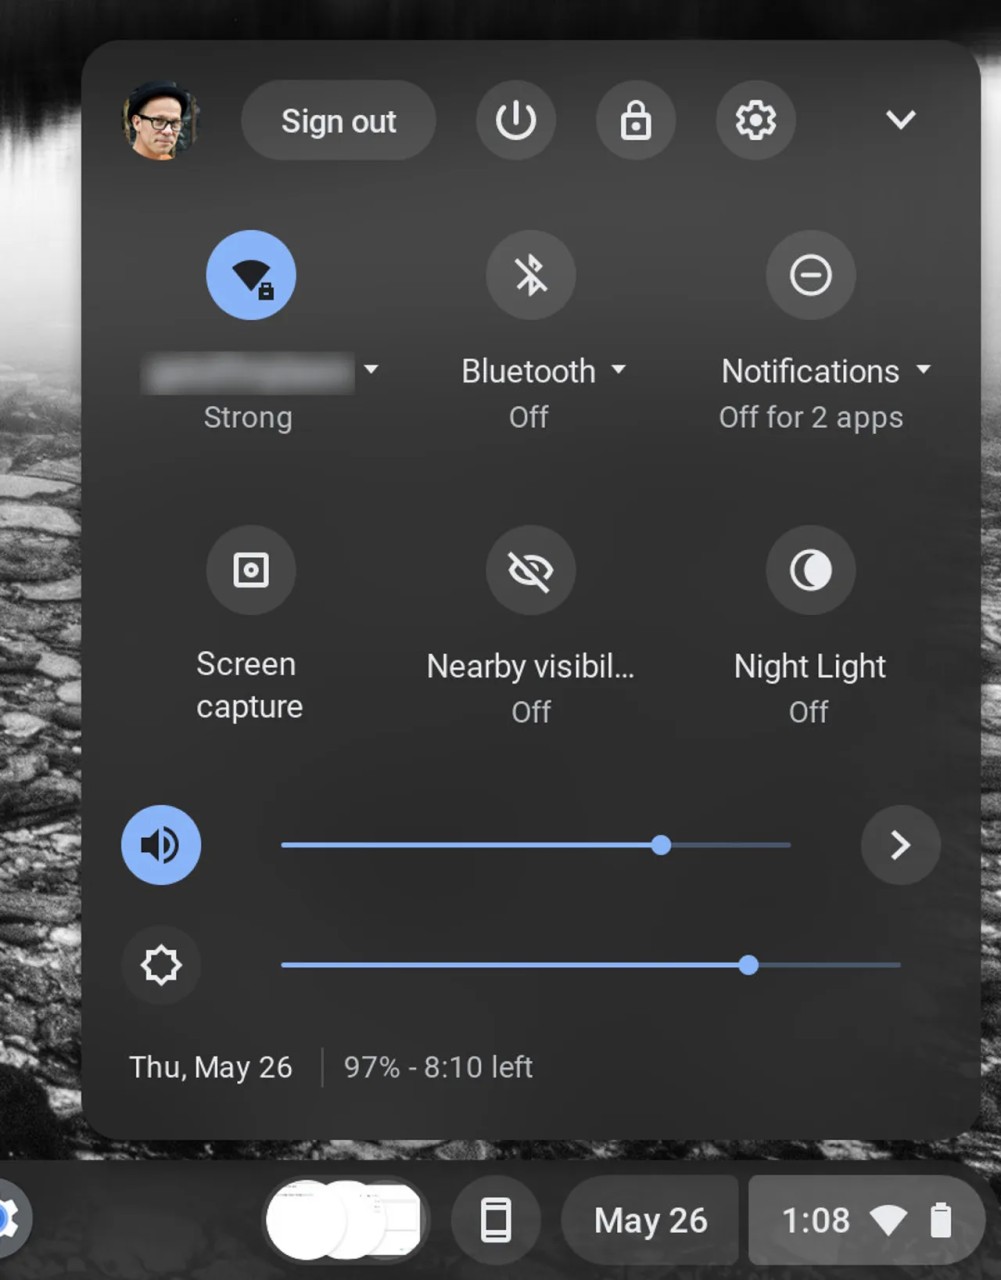
The first thing to be done is connect to the share. Your Chromebook must be connected to the same network as the machine hosting the share. Once you've ensured that is the case, log into your Chromebook and open the Settings app (from either the gear icon in the System Tray popup (Figure 1) or from within the desktop launcher.
2. Connect to the Share
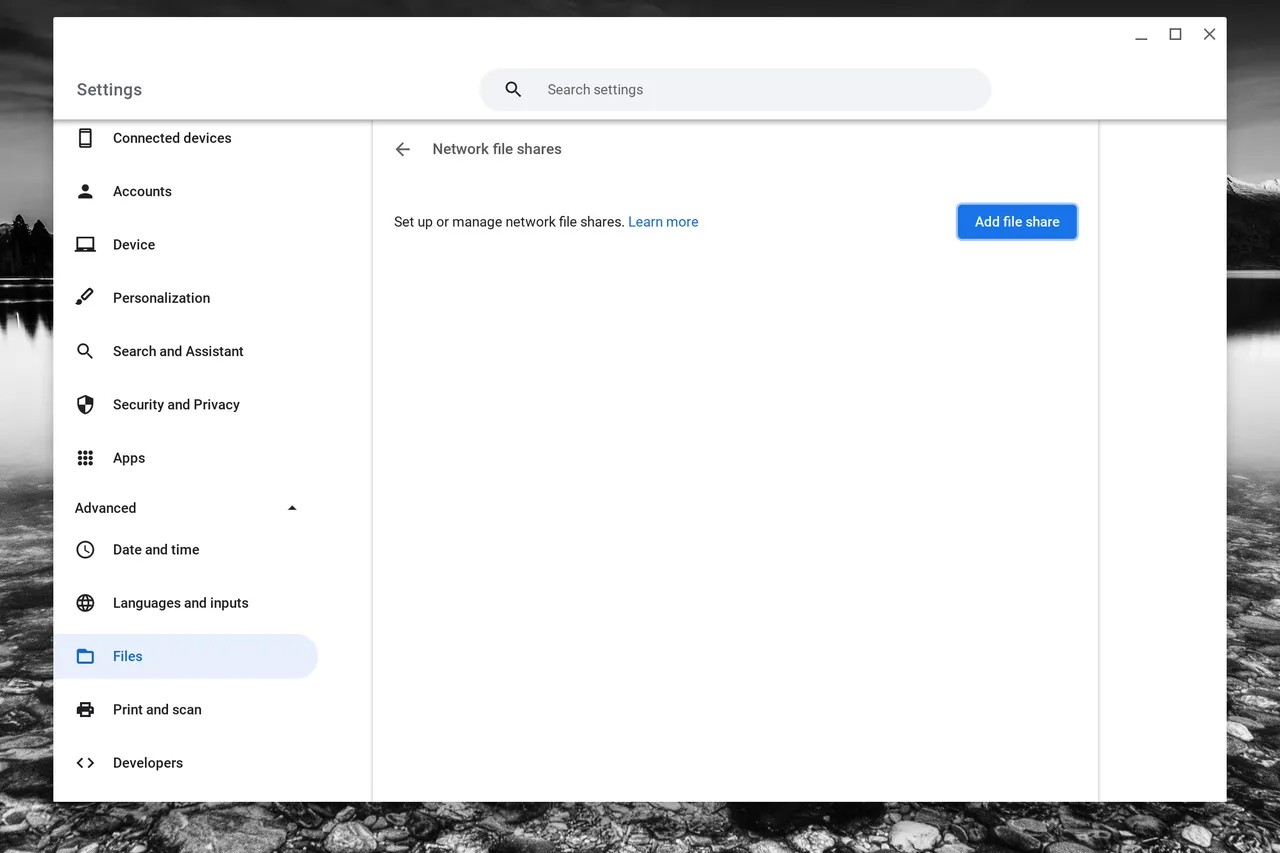
From within the Settings app, click to expand the Advanced entry in the left sidebar and then click Files (Figure 2).
3. In the resulting window (Figure 3), click Add file share.
4. When the new window opens, click the Server Share drop-down.
This should reveal all of the shares available on your network (Figure 4).
5. Once you've located the share, go back to the Add file share window.
Finish adding the necessary information (username and password).
6. Click Add when finished.
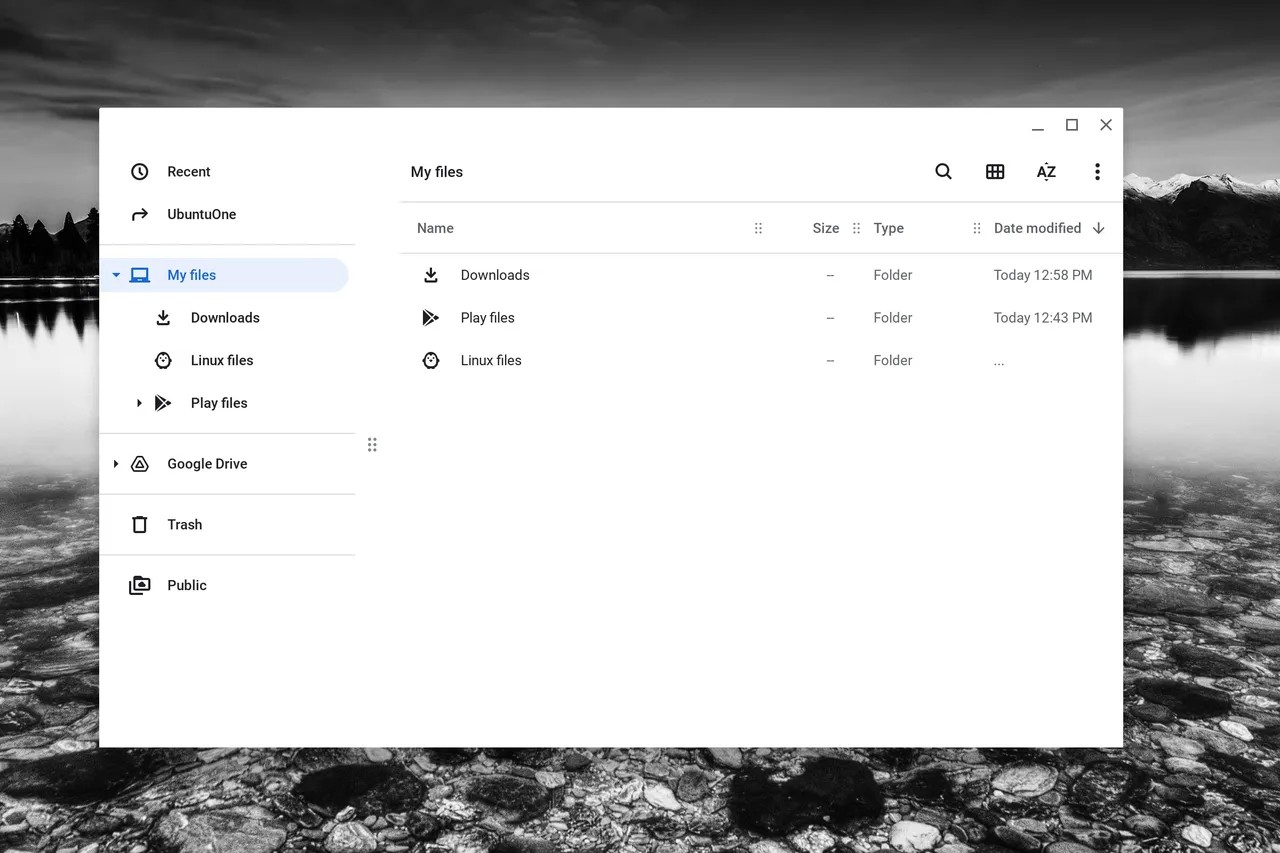
The Files app will automatically open, revealing the newly added share (Figure 5).
7. Click on the new entry in Files.
You should see all of the files and directories housed within the share. That share will then always be available to your Chromebook (until you either close it by right-clicking the entry and selecting Close or if you leave the network that includes the machine housing the share).
Congratulations! You now have access to files and directories on that shared directory on your LAN. Enjoy.


Comments